
This week has been very decadent. Two trips to London in two days with my very good friends who share my adventures.
Sunny Thursday, was all about buying dressmaking fabrics and sourcing silk for future Nuno felting projects with the Felt Makers. We’d met Mr Rosenberg many times at the Knit and Stitch Shows. So when he invited us to visit his new warehouse, it seemed rude not to accept.
It’s a stunning space. Every type of fabric imaginable for making garments – and plenty more hidden is the back. We were looked after by the lovely Jenni who made us tea whilst we browsed.

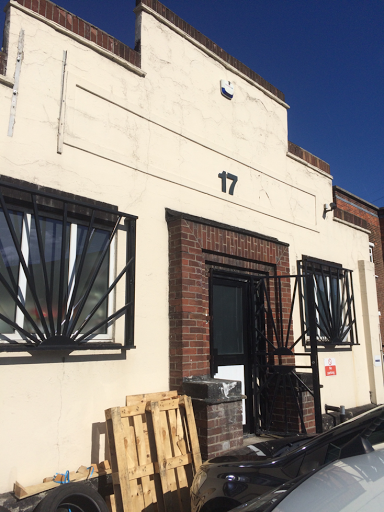
Look out for the Art Deco building and number 17
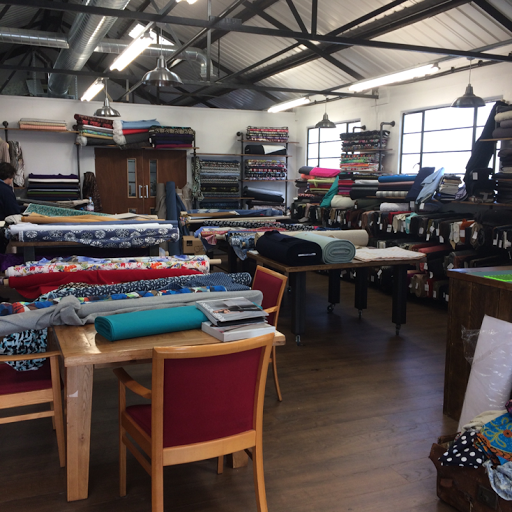
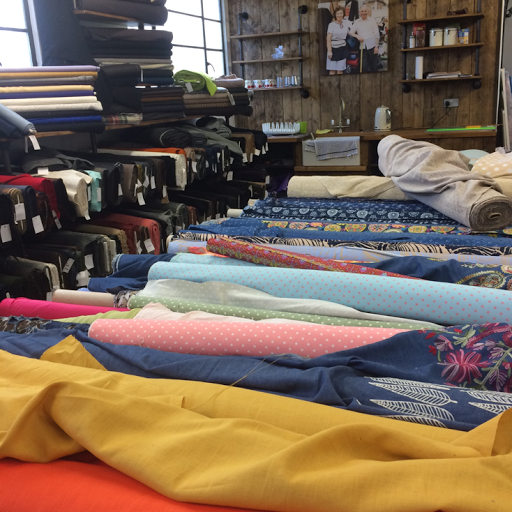
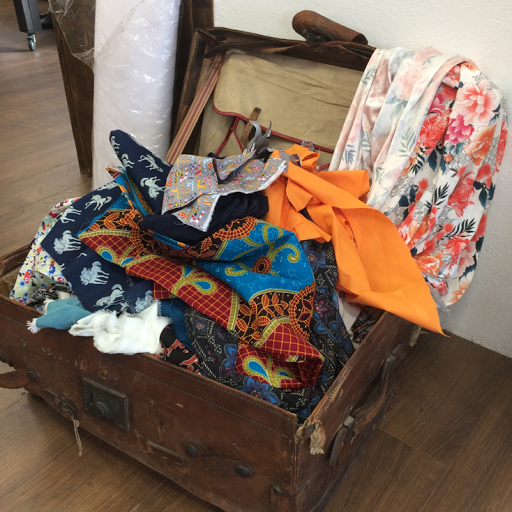
I came away with some gorgeous, red boiled wool, brocades and plenty of silks to play with.
✂✂✂✂✂✂✂✂✂✂✂
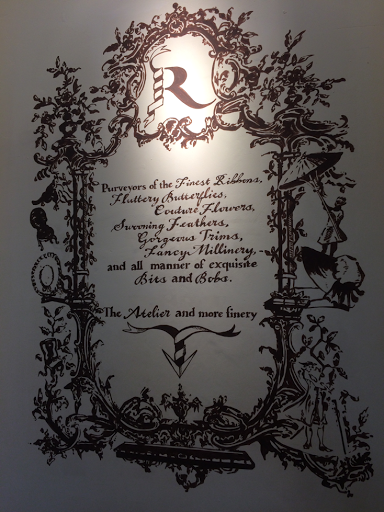
Friday was my Birthday and I spent it with a dear friend on a trip to Marylebone High Street. It’s a place like no other. There’s a French feel to everything. Fabulous high end clothes shops, wonderful cafe’s and then there is the one and only VV Rouleaux. How can I describe this heaven of a shop. Words can’t do it justice. Just look….

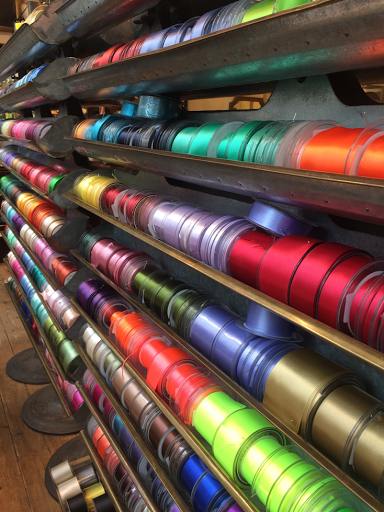
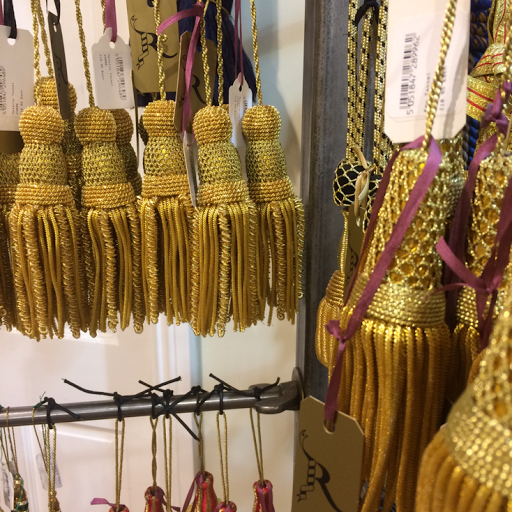
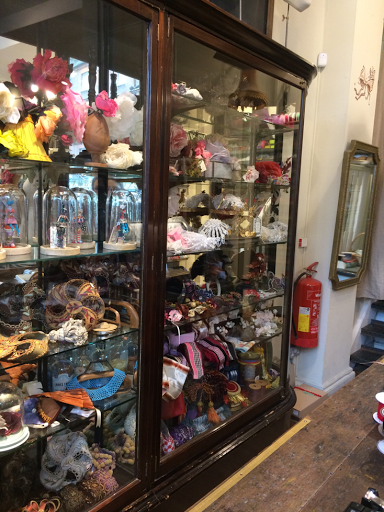
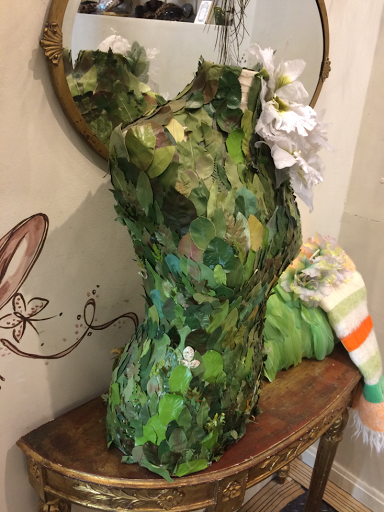
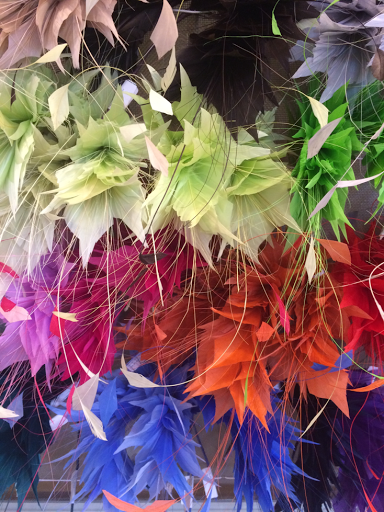
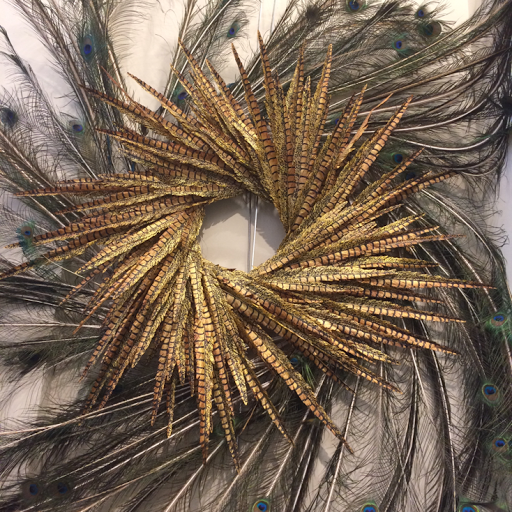
Trimmings galore and they do workshops too!
It’s a shop I’ll be introducing some more of my friends to soon. ✂️